Showing posts with label recipe. Show all posts

Friday, April 11, 2014

Simple Wanton Mee Sua

We had an excellent lunch last Saturday- Wanton Mee Sua. It is something different from what I would usually cook. 

Ingredients: ( for 2-3 adults and 1 kid)

Minced Pork ( I used 1 whole packet from Seng Siong supermarket.)
Chopped Thai Chives (Chinese Chives)
1/2 packet of washed Xiao Bai Cai (Cut up, separate the stems from green leaves)
1 packet of Wanton Skin
1 packet of Mee Sua 

Seasoning for Marinating the Meat
1 tablespoon of soy sauce
1 teaspoon of sesame oil
2 dashes of pepper (according to your preference)

Ingredients

Procedure

Marinating the meat.

  1.  Put in the seasoning, mix thoroughly and marinate the meat for 20 mins.


The Making of Wanton

  1.  After the chives are chopped up, I mixed them with the meat as well. 
  2.  Scoop about 1 teaspoon of  the meat mixture and put in the centre of the wanton skin.
  3.  Wet the sides of the wanton skin so that you can wrapped up the meat by pinching the sides together to make something like the ones below.
  4.  Set 2 pots of water to boil. One for Wantons, the other for Mee Sua. Once the pot for Mee Sua starts to boil, you can add in meat to make a broth. (I used meatballs derived from the leftover minced meat which is not a lot. I would boil the meatballs at an intense heat for about 5-10 min ,then simmer for 15-20min )
  5.  Put the wanton into the boiling water. Once the wantons float up, it is cooked. (About 4-5 minutes)
  6.  Drain away the water.


Pre-cooked wanton
 Cooking Mee Sua
1) Mee Sua is soaked in tap water (Singapore's water is quite clean) prior cooking. The water is drained away.
2) The Mee Sua can be thrown into the meat broth together with the stems of Xiao Bai Cai bringing to boil. It will cooked in 2-3 minutes.
3) Adding the leaves of the Xiao Bai Cai last. I have extra chives, I add those in as well.
4) Serve Mee Sua either with soup or without. Add some sesame oil if you like.

Ta-dah!!! All done

If you have been enjoying reading our posts, like us on facebook

Linking up with :~

Friday, February 21, 2014

Simple V-Day snacks a kid can do... chocolate dipped strawberry and Tang Yuan


Chocolate Dipped Strawberries

Ingredient:-

I have not stated the amount because it is according to preference. 
Melted sweetened chocolate
Strawberries

Procedure:-

  1. Hold the leaves of the strawberry. (Best way to do is to hold all the leaves so you have a stable grip)
  2. Dip the strawberry into the melted chocolate, careful not to coat the leaves.


3.  Wait till the chocolate stop dripping and transfer onto a plate. Make sure to space the coated strawberries apart. Chocolate liners are optional.


4. Put in the fridge for half an hour.

Tah dah!!!

Tang Yuan

I actually wanted to make Yuan Xiao instead of Tang Yuan. However, due to having the wrong equipment, I have to abandon the plan and make Tang Yuan instead. Little one is helping me out to roll the read bean paste and hazelnut filling into balls. She did the same for the dough.

I love playing  experimenting with food. I suspect Yuan Xiao and Tang Yuan would probably taste the same.
Yuan Xiao's skin is coated by rolling the fillings on high side tray or large flat bottom serving bowl. As for Tang Yuan, it is made by rolling the dough into balls instead. In my personal opinion, making Tang Yuan is less messy and easier to make. Attaching a video to show the process of making Yuan Xiao.

.

Below are my trial and error result for Yuan Xiao Making. After which turn into various variety of making Tang Yuan


Red bean and Hazelnut paste
Try mixing flour in a 20cm bowl 

Try mixing in a 20 cm plate yields better result
Very lightly coated, powdery coating makes them look like mochi

After steaming.... it's a no wonder they say need to coat more than 10 rounds.

In the end make Tang Yuan instead. The middle one is Xiao Yuan.

Dump all the 7 balls into the soup... and after 10 mins... what happen to my Yuan  Xiao? It had dissolve completely in water, turning the water brown!

My very big boiling Tang Yuan

Steamed Tang Yuan 
Steamed Tang Yuan and Muah Chee


Friday, October 26, 2012

Peanut Butter Cups

Do you like chocolate? What about peanut butter? Try making your own peanut butter cup, it's rather simple. I won't say this is a healthy snack but at least you can control the amount of sugar and salt you are giving to your children.

Peanut butter cup

Friday, September 28, 2012

Chinese White Honeycomb cake (Bak Tong Gou, 白糖糕) and Steamed Rice Cake (松糕 )

These 2 recipes are even simpler than the steamed cake recipe in my post steamed mug cake. Simple ingredients, no whipping of eggs. That sounds easy to me as I do not have any egg beater.

There are different versions in the net. Below are adapted from recipe books. Minimal steps is required and it is quite effortlessly done.

My hubby loves the White Honeycomb cake and requested that I do it again. I will do it next time as I had already finished my batch of rice flour playing with steaming different rice cake and radish cake.


Friday, September 7, 2012

Steamed Longan Red Date Cake

Heard of red date and dried longan tea? Yes, it is typically a Chinese drink made for the mommy during her confinement month. In fact , she cannot drink any plain water (believed to cause 'wind') except hot red date longan tea and of course, plenty of hot soup. (Although some modern women does not follow these 'rules') 
Red date or hongzao(红枣) in Chinese, nourishes the stomach, spleen and blood. Longan (龙眼 or  桂圆) is considered as a blood tonic, to nurture the heart and to improve skin condition. However, longan being a heaty fruit is best consume in moderation.

How about Longan Red Date cake? I have not heard of this before until I browse it through a recipe book. "Cake in Steam". I think probably it will be good to eat during confinement too? 

Cake in Steam 蒸糕招 by Liu Fenglan 刘凤澜.

Friday, August 24, 2012

Yummy Blueberry Frozen Yogurt

Blueberries is one of my favourite food. If I could have it my way, I would eat lots of them, probably the whole package of blueberries (125g) if they weren't so expensive in Singapore. The ones that I recently bought cost S$3.25 from the Netherlands.

Usually, I would share these precious berries with my little kid. Blueberries are full of antioxidants which are good for the body. Someone also told me that blueberries is good for the brain, especially developing kids. Due to that very reason, sometimes, I do sacrifice my own serving just for the little one.

My favourite use of blueberries is to eat them raw with yogurt, toss them into a bowl of fruit salad.
Otherwise, I'll just make blueberry puree for bread. However, blueberries is listed under the dirty dozen list. Hence, I usually buy organic. If I intend to cook them, I will go for the non-organic ones.

I am very happy to share this recipe from Nami, Just One Cookbook.

The frozen yogurt was a hit in my family. It tasted like Yami Yogurt according to my hubby. The only minus point was it tasted a little icy when we took out from the freezer. I am not sure why but I think it's due to the fact I stored it overnight. After thawing a while, however, it felt creamy, just like the texture of ice cream.


Blueberry Frozen Yogurt

Recipe slightly modified from Just One Cookbook!

Ingredients: ( 3 to 4 servings)
  • 1½ cup (250g) blueberries
  • ½ cup sugar 
  • 1 tbsp lemon juice
  • a pimch of salt
  • 3/4 cup Greek Yogurt
  • ½ cup milk 

Procedure:-
  1. Combine blueberries, sugar, lemon juice and salt in a saucepan.
  2. Heat them up in medium heat. 
  3. Stir till sugar dissolve. 
  4. Use a potato masher to mash the berries up. ( I use the ladle.) If you want a smoother texture, blend the blueberries before cooking.
  5. Let it cool for 20 minutes. 
  6. Stir in the yogurt and milk until incorporated
  7. Chill the mixture in the fridge for several hour. ( I only chill for 3-4 hr.)
  8. Transfer mixture to container and put in freezer. Stir twice every 1.5 hr t break up the ice.
  9. Stir every half hour after that vigorously until it is creamy enough to serve.
Note: the first 4 step is also use to make blueberry jam. 


Step 1

Step 2 and 3

Step 4

Step 6

Serving it like a bunch of grapes.
My girl loves this so much that when we are eating from the tub till almost finishing, she asked me to go away because she wants to finish it all by herself!


Wednesday, August 22, 2012

Bok choy Tuna Mango wrap

I am not a wrap person and has not tried wrapping a wrap before. I thought it would be easy, instructions was given on the Mission Wrap itself. My first attempt was to do a mango chicken wrap but I simply couldn't wrap it like a popiah as suggested on the package! (Too much fillings) =X

So when DinoMama asked me to post up a link at her site, I was embarrassed because I made a mess.

After searching the internet for how the ideal wrap should look like, I finally come to a conclusion. 
I do not have to wrap it like a popiah, it can be simply rolled up without folding in the opposite sides and tie with a string. Some even used leaves as wraps! 

I have some leftover Mission flatbread which are to be consumed within 3 days after opening. So, use them, photograph them and blog them.

The idea of getting bok choy comes about because I couldn't find any organic lettuce or spinach. Actually, when it comes to salad, I prefer to use organic veggie. The supermarket near my place only has organic tomato and sprouts. Tomato will be good but my girl doesn't like them. Sprouts with tuna... ehh?!? Can't imagine that. And hence, I consider steaming some greens, bok choy should be perfect with tuna, I guess. Some onion and potatoes should be fine too. Then, I went along with the idea of tossing in the last mango into the wrap. Hmm... maybe it's a little too small. Anyway, just toss in.

Bok Choy Tuna Mango wrap

Bok Choy Tuna Mango Wrap


Here's the recipe.

Ingredients:
  • 4 wraps
  • 1 potato
  • half an onion ( I use yellow onion)
  • 1 can of tuna chunks in water (I use Ayam brand)
  • 1 mango ( Suggest to get the big ones, if possible, get another to make a mango puree)
  • Baby Bok choy
Seasoning:
  • 1 tsp olive oil. (you may want more if you like)
  • 2 dashes of pepper
Procedure:-
  1. Prepare a steamer and start to boil the water. ( I used rice cooker )
  2. Wash, peel, cut potato and onion into dice.
  3. Wash and cut the Bok Choy stems away from the leaves.
  4. Dice the Bok Choy stems
  5. Open the can of tuna and empty the tuna into a bowl. Discard water.
  6. Add in the dice potato, onion and Bok choy stem.
  7. Add the seasoning and mixed well.
  8. Put in rice cooker and steam for 15-20 min before adding in the leaves of baby Bak choy.
  9. Steam for additional 5 more minutes.
  10. While steaming, dice the mango. (I choose to slice and dice it)
  11. And also dry fry the wraps.
  12. After the steaming is done, proceed to spoon the ingredients on wrap after you drain the . If you have mango puree, you can drizzle them in as dressing
  13. Roll it up and fold in only one side of the wrap so that it now look like a tall cup.
Fillings on the right side of the wrap, covering about 1/3 of it, leave space at the sides and bottom for folding purposes


Final product:: top exposed , bottom folded.
Verdict:-
I personally think it's refreshing to use bok choy.
My hubby said too little mango. Hence, the above suggestion. He thinks it would be better if there's more mango. Exactly my sentiments too. Ah girl doesn't really like wrap but she does like the fillings. Probably it's almost like what she often ate at home?!?

As a novice, I enjoyed my wrapping experience. Probably may try out again using wholemeal wrap.  It's more nutritious than plain ones.

Monday, August 20, 2012

Oh... What a monstrous looking cake!

Does the cake looked scary? My hubby said it looked worse than a person full of acne. Ouch!.... But this cake tasted great! Especially when hot. Even after putting in the fridge and eating it cold. Of course, I don't recommend you to eat it cold. It's best eaten fresh from the steamer. My hubby doesn't like cold food. As for his comment, I am quite used to it. The food I produce usually taste good but don't look good.

Anyway, I was playing around with steaming cakes again. This time a bigger portion just to see whether the cake would raise. I was trying to do an upside down cake with no added sugar. Probably a little too ambitious... heheheh...


Sugarless Blueberry Banana Cake 


Below is the recipe for blueberry banana cake. Yes it's blueberry banana cake again but a larger portion.
Ingredients:
  • 1 cup plain flour + extra for coating fruits 
  • 2 eggs
  • 4 tbsp milk
  • 4 tbsp oil (any flavourless oil, I used EVOO)
  • pinch of salt
  • 1½ tsp baking soda
  • 2 big ripe banana (mashed) + extra banana cut longitudinally for upside down cake
  • 2 tbsp orange juice
  • 1 cup fresh blueberries 


Procedure:-


  1. Set up the steamer and boil the water over medium high heat
  2. Whisk the flour, baking soda in a big bowl using fork for about 20 - 30 times. 
  3. Then beat the egg in a separate bowl. Add in milk , oil , orange juice and salt and whisk together
  4. Grease the baking tray  ( I used a deep dish instead and olive oil to grease)
  5. Coat the longitudinally cut banana and some blueberries with extra plain flour
  6. Line the bottom of the baking tray with the coated fruits
  7. Combine the two mixture (pt2 and pt3)and mixed till fully incorporated.
  8. Fold in the blueberries and mashed  banana mix.
  9. Pour the batter into baking tray.Load them into steamer (make sure the water is boiling) and steam for 30-45 min (depending on size of the steam cake)
  10. Use a toothpick or skewer to test whether the cake is ready.
  11. Once it's done, take the cake out and allow to cool.

If you do not want to do upside down cake, you can omit step 5 and 6. I got to know later that in order for fruits not to stuck on the tray, it is better to grease with butter and or covered with sugar.

Then how on earth did my cake got this monstrous appearance? I reserved some blueberries and added on top of my batter after I poured in. Strange thing to do, but I was playing with my food, you see.
My upside down cake was stuck onto the dish! 

Still taste great despite the look of the cake


Conclusion and Tips:

  1. If you are making a cake bigger then the size of a cupcake, don't put topping. It'll probably end up ugly. 
  2. If you are making upside down cake, coat the bottom of tray with butter or sugar.

I would probably try to make another upside down cake but not so soon. Been eating too much cakes recently. This cake was done 2 weeks ago. I had just made another 2 batches of steamed cakes today.


Sunday, August 19, 2012

Pancakes for breakfast anyone?

I missed having pancake for breakfast, the first time I made them, I used pancake mix. This time, I decided to make it from scratch. It's quite easy. As this recipe doesn't use any leavening, hence, it's a flat pancake. Probably this is how the idiom comes about. I think I am unlikely to add in any fruits or nuts into it for fear it may break under the weight. I need something else to pair up with the plain pancake. I have decided to use honey and my newly made peanut butter.  Below are the flat pancake which I made some time ago. 


Here's the recipe which I've got from the net.

British Pancake

Adapted from About.com!
Ingredients:
  • 1½ cup plain flour
  • 2 eggs
  • 2½ cups milk
  • 2 tsp melted unsalted butter and some for cooking
  • pinch of salt

Procedure:-

Pan frying a flat pancake
  1. Sieve flour into a bowl and add a pinch of  salt. 
  2. Make a well in the centre of the flour and add the eggs. Beat until smooth . ( I am using fork the beat so it took quite sometime to do it)
  3. Add half the milk and the 2 tsp of butter. Beat again. Add the remaining milk and stir.
  4. Let the batter rest for 15 minutes
  5. Grease the frying pan with a little melted butter just enough to coat the base of pan. Heat until very hot and add a ladle of batter coating the pan evenly and thinly. Cook till set and lightly golden. Flip the pancake over and cook the other side for about 30 seconds.
  6. Remove the pancake and place on a plate. Continue till the batter is used up.
  7. To serve, you can roll it up like a wrap and serve with lemon juice and sugar. This morning, I watch the television and they drizzle it with orange juice! 
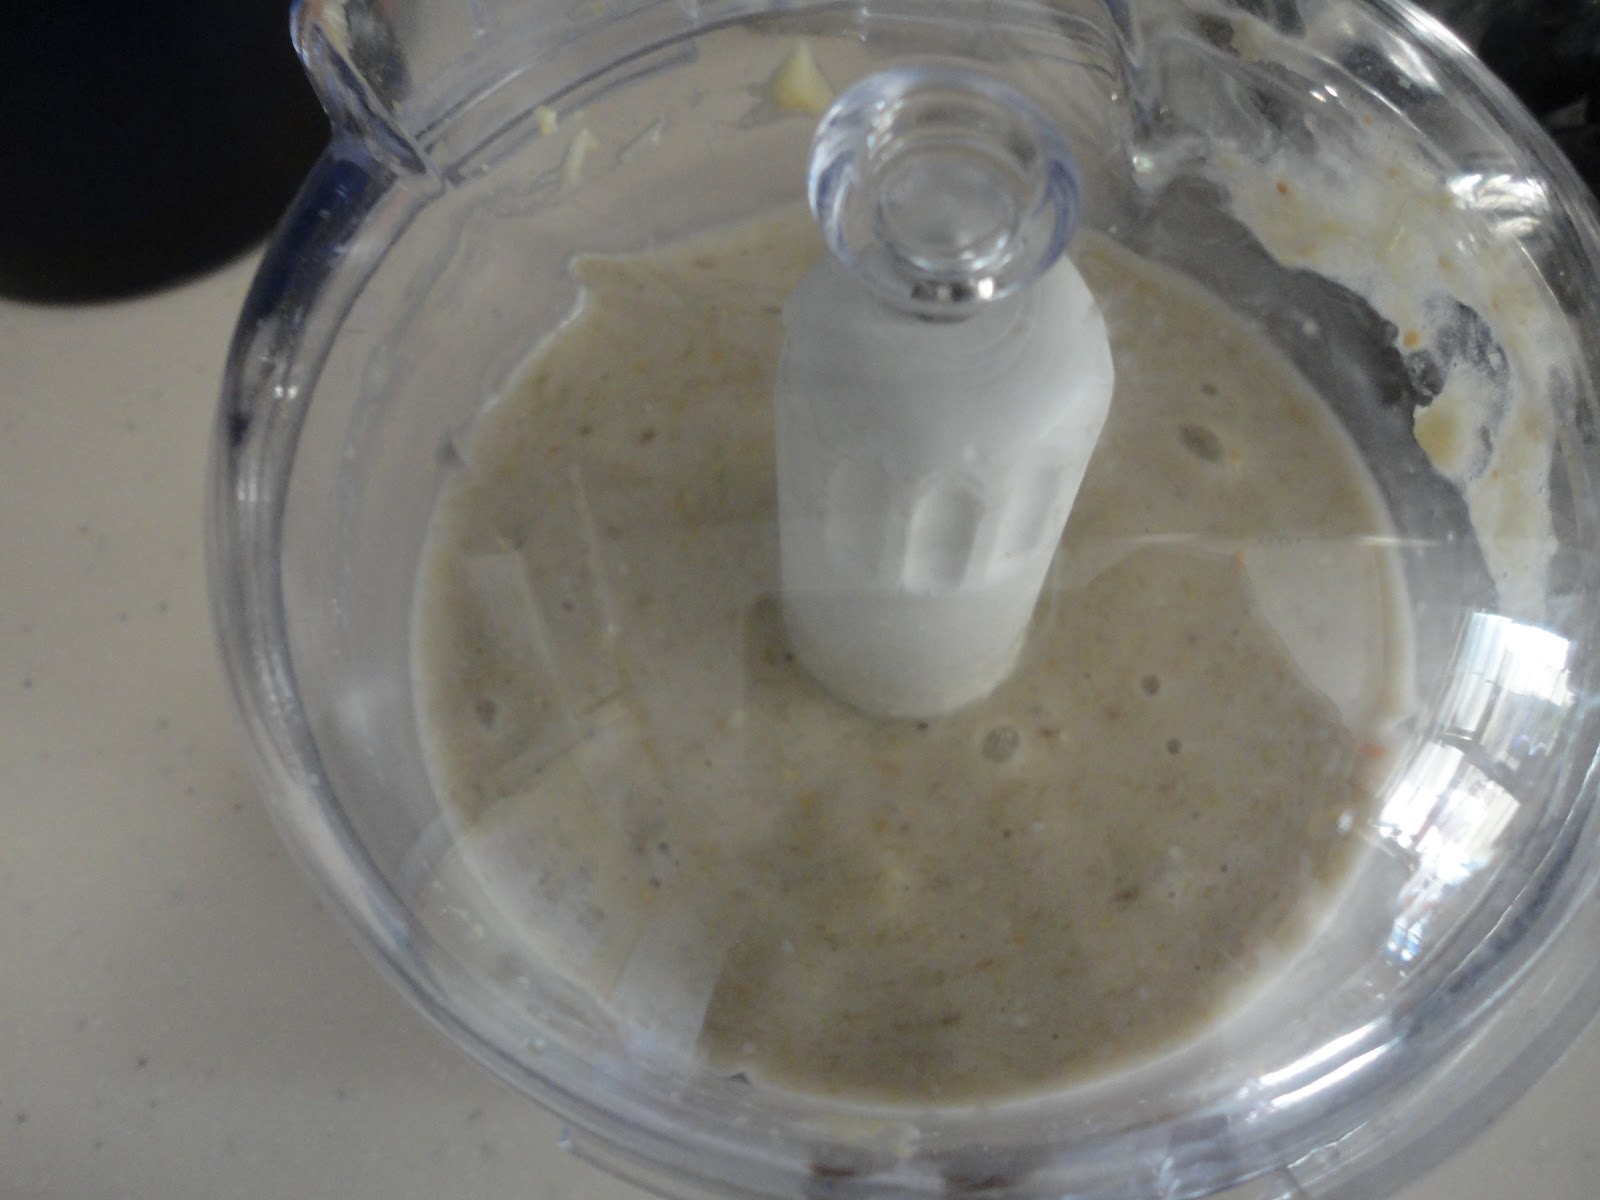
I was quite worried when I made the batter. I didn't have a electric beater and have to beat it manually. The outcome of the batter is quite watery and there were some yellowish floating particles. (See below picture) Quite different from the one which I made using pancake mix. I thought, probably, I probably will not succeed in making it this time. Any way, I went ahead making it.

Watery batter

I spent about 1 hr in total making making 12 pancakes. If they are eaten with the peanut butter only, the combination is quite dry. After adding the honey, the taste is completely different and was superb.

Pancake with a drizzle of honey and a dollop of peanut butter

My hubby thought it was too much for the 3 of us. We were very full and couldn't eat much for lunch. Next time, I shall use use only half the portion.

Update: Luckily I went ahead making these pancakes, I just read that British pancakes are supposed to have watery batter. Information from Wikipedia

Monday, August 13, 2012

Making of mini cashew blueberry banana cakes for mommy!

I told my mom that I am into steaming cakes recently and promised to make her some sugarless ones.
Knowing my mom couldn't take hard food like nuts anymore, I told her I would grind them into powder and make them into cakes.
I am all set to make the mini cakes. This is a healthier choice as I have omitted sugar and oil. All these are substituted by natural ingredients. Sugar substituted by banana and blueberries.Oil by cashew nuts. I have done some internet searching, I seemed to be the only one using cashews as an oil substitution for cakes. I am not sure whether it will work but just do a trial and error. It works! And the greatest news of all is that my mom enjoys it! =)

Very own cashew blueberry banana cake


Sugarless Cashew Blueberry Banana Cake (No added oil/ fats)


Ingredients:
  • ½ cup (75g) all purpose flour
  • ½  tsp. baking soda 
  • 1 egg
  • 2 Tbsp. milk
  • 1 big ripe banana or 2 small ones
  • 12 roasted cashewnuts
  • handful of blueberries (at most 1 ½  handful)
  • 1 tsp vinegar

Procedure:-
homogeneous cashew nut and banana


  1. Blend the cashew nuts to powder. Add in the banana and blend till homogeneous. Set aside.
  2. Set up the steamer and boil the water over medium high heat
  3. Whisk the flour, baking soda in a big bowl using fork for about 20 times. 
  4. Then beat the egg in a separate bowl. Add in milk and vinegar and whisk together
  5. Combine the two mixture and mixed till smooth.
  6. Fold in the blueberries and cashew nuts +  banana mix.
  7. Scoop the batter into the 4 prepared foil/ramekins cups that are lined with paper liners , load them into steamer (make sure the water is boiling) and steam for 10 min (depending on size of the steam cake, it can be anywhere between 8 min to 15 min)
  8. Use a toothpick or skewer to test whether the cakes are ready.
  9. Once it's done, take the cakes out and allow to cool.

Now you have your very own cashew blueberry banana cake! Enjoy!


Sunday, August 12, 2012

Not giving up!!! I want to make sugarless banana walnut cake!

I failed to make the carrot, pumpkin cake for my girl. Nevertheless, I am not giving up and I am trying something new. Steaming on a frying pan! This is not my idea actually. I got this idea when I read Nami's  Just One Cookbook, she was steaming cakes in it. So I thought of doing the same. If you are into sugarless cake, you may want to try the below recipe. Otherwise, you may want to add 2 tablespoon of sugar when you are beating the egg.

Steaming cakes in a frying pan


Sugarless Banana Walnut Cake


Ingredients:
  • 1/2 cup (75g) all purpose flour
  • 1/2 tsp. baking soda 
  • 1 egg
  • 1/4 cup of yogurt
  • 1 Tbsp olive oil
  • 1 big ripe banana or 2 small ones ( I used 1 small one and the cake is not sweet)
  • handful of chopped baked walnut
Below method is to prepare for 4 mini steamed cakes

Ingredients

Procedure:-
My batter
  1. Chopped the walnuts. 
  2. Set up the frying pan and boil the water over medium high heat.
  3. Mash the bananas.
  4. Whisk the flour, baking soda in a big bowl using fork for about 20 times. Otherwise sift them.
  5. Then beat the egg in a separate bowl. Add the oil and yogurt and whisk them together.
  6. Combine the two mixture and fold in the mashed banana and chopped walnuts. You may want to reserve 4 pieces of walnut to decorate the top of your cakes
  7. Spoon the batter into the 4 prepared foil/ ramekins cups that are lined with paper liners
  8. Put one chopped walnut onto each cup batter.  
  9. Place all 4 foils/ ramekin cups into frying pan (make sure the water is boiling) and steam for 10 min (depending on size of the steam cake, it can be anywhere between 8 min to 15 min)
  10. Use a toothpick or skewer to test whether the cake is ready.
  11. Once it's done, take the cakes out and allow to cool.
Steaming in a frying pan, I can see through the glass cover
Well, one reason for using the frying pan is that I can see through the glass cover whether the cakes are rising. I was quite amazed and worried when I saw my aluminium foils cups 'swimming/ floating' around the pan. I kept thinking, will it work or will it fail? I was practically over the moon when the cakes did rise. 

Although the cake is not sweet at all (I used 1 small banana then), my girl loves it. I probably try to make again the carrot / pumpkin cake, but with lesser quantity of ingredient and more baking soda.
My steamed cakes
Noticed I didn't line 2 of the aluminium foil. I am testing out whether is there any difference in steaming with or without cake liner. It seemed that there is not much difference in size.

I am still trying to figure out why the cake sort of sucken after it is taken out of the pan.

Note: do be careful when steaming this way, I had put too much water once and the boiled water went into the cakes!

Wednesday, August 8, 2012

Peanut Butter DIY project and what you can do with it.

I love peanut butter but have been resisting eating it since most store bought ones have a lot more salt and other additives. Thanks to Food For Tots, I finally got the recipe to make my very own peanut butter. It's just so simple.
I follow her recipe exactly except that I omitted the sugar and put lesser Extra Virgin Olive Oil (EVOO).
I have some leftover peanuts which I used to make soup. I used them anyway.


Peanut Butter


Recipe adapted from Food for Tots
Here's the Recipe:-

Ingredients:
  • 1½ cups raw peanut
  • 1 to 1.5 tbsp peanut oil or any vegetable oil (I used EVOO)
  • ½ tsp salt 

Procedure:-

  1. Rinse peanuts and pat dry with paper towels and leave to air dry. 
  2. Heat up the frying pan with low heat and dry fry (ie fry without oil) until fragrant and skin turns to a darker brown. This takes about 15 minutes for me. Allow the nuts to cool.
  3. Peel the skin away.
  4. Blend the nuts. If you have a powerful blender, you can blend all of them together. I did mine in 3 batches
  5. Scrape the side as and when needed.
  6. Add in salt and EVOO bit by bit when the nuts become sticky. Continue to process till it become smooth. Taste the peanut butter and adjust seasoning to your liking.
  7. Pour into a container. If you are not using immediately, you may store in the fridge.

Air drying

Dry frying peanuts at the back. The ready nuts are cooling down in the bowl .
My little one helping to peel the nuts
We had fun asking little one to pick the nuts from the heap of peanut skin.

Changes of the nuts during the blending process. Add the  seasoning at point 4.

My completed peanut butter!

Peanut butter can be an ingredient for other recipes, such as to make peanut filling for Tang yuan (a chinese dessert), make a cake, some biscuits or even some ice cream.
I used some of my newly made peanut butter for the making of Tang yuan with peanut fillings. Also, to compliment my freshly made plain pancakes the next morning. I probably will blog again on peanut butter recipe.

Are you aware that peanut butter has other uses? Below are other uses of peanut butter which I have yet to try. I have tabulated off from the web.

Gummy Hair

You can massage a generous dollop of peanut butter into the gummy mess. Allow the peanut butter to remain in the hair for about five minutes, then wipe off the mess from the hair with a paper towel. Wash your hair to remove the peanut butter smell. The same technique can also be used to remove gum from rugs and carpets.

Sticky Labels

Most children love stickers. Chances that stickers are being pasted all over the house. How to get rid of the sticker residue (which can be unsightly) after you tried peeling them away? The remedy is to apply peanut butter on the affected area and leave for about 5 minutes. Wipe the peanut butter away.

If you are trying to remove the sticker goo from your children's clothing which you have accidentally washed their clothes without realising the stickers are on.them. Not to worry, apply laundry detergent on the residue, then apply peanut butter for a few hours and brush off the residue. This is followed by normal laundry. Repeat as necessary until adhesive is removed. I was stuck in this situation before, I hadn't have any peanut butter as mention I don't buy them. I apply olive oil instead. But note some delicate / sensitive fabric may become stain after these mentioned application.

Fishy Smell

Eliminate the fishy smell from your home next time you fry fish. Add a dollop of peanut butter to the pan as soon as you remove the fried fish. Allow it to fry for a minute or two. The peanut butter will absorb the fishy smell.

Mouse Trap

Bait mouse traps with peanut butter. Mice will be attracted by the sweet scent, and they won't be able to abscond with the peanut butter without setting off the trap. 

Pet Medications

Hide your pet's pill in a dab of peanut butter. Dogs and cats love the taste of peanut butter, so they'll never notice the pill buried inside. I wonder though whether they will choke on the peanut butter instead? :P

Butter Substitute

Use peanut butter for baked goods or sauce recipes that call for butter. The peanut butter will add a subtle nutty flavor.

Edible Playdough

Mix up a batch of edible playdough for young artists. Combine a cup of peanut butter with two cups of powdered sugar and half a cup of honey. Store the playdough in a zip seal bag or an airtight container when it isn't in use. However, come to think of it, I think I won't want to waste my PB, especially my homemade ones on making dough, I prefer to spread them on my bread. :) We have cheaper alternative of making edible playdough.

Shaving

You can shave using creamy peanut butter as a substitute for shaving cream. It contains oil and help lubricate your skin. Hmmm... I wonder whether it works the same way for sensory play? :P I assume it would clog up your razor and leave the skin pretty oily. Now, I worry about pimples.

Scratched DVDs & CDs

Apply a little of the creamy peanut butter onto the scratched disk and wipe away with dry cloth

Glue removal

Rub some peanut butter and wipe away with paper towel.

Now that I have shared my peanut butter DIY project, do you have any peanut butter recipe to share with me?

Note :For people with a peanut allergy, peanut butter can cause reactions, including anaphylactic shock, 
Related Posts Plugin for WordPress, Blogger...